
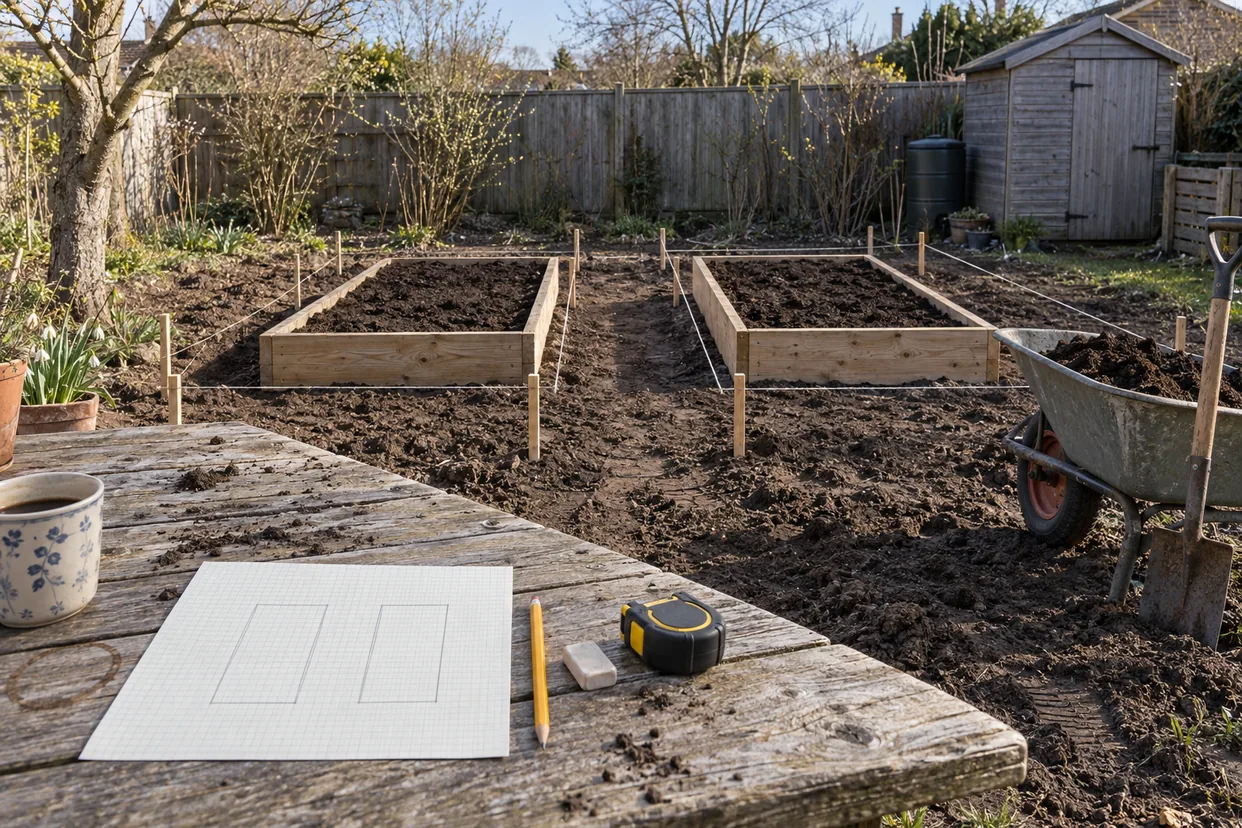
Most gardens are planned with a shovel in hand, and it shows by midsummer. The corn shades the peppers, the paths are too narrow for a wheelbarrow, and there is no room left for the fall lettuce. A vegetable garden plan fixes these problems in winter, on paper, when moving a bed costs nothing but an eraser. This guide walks through the process step by step, from measuring the plot to planning next year’s rotation, using advice from university extension services.
Why a Vegetable Garden Plan Starts on Paper
A drawing forces you to make decisions before you buy seeds and lumber. How big will each bed be? Where will the tomatoes go, and what follows the peas in July? Without a plan, those choices get made in a hurry on a busy spring weekend. With one, you can test several arrangements in an evening and simply keep the best.
This article is about the planning process itself. If you are still choosing a style, such as rows, raised beds or square foot plots, start with our guide to vegetable garden layout ideas for beginners. Then come back here to turn that style into a map of your own ground.
Step 1: Measure and Map the Plot
Every good vegetable garden plan begins with accurate measurements. A rough guess of “about twenty feet” can easily turn into a bed that does not fit or a path that ends at a fence.
Draw the Boundary to Scale
NC State Extension recommends drawing the garden on graph paper or with a scale, so the beds and plants appear at their true size. A simple scale works well for most home gardens, such as one square on the paper for one foot on the ground. Measure the length and width of the plot with a tape, and then mark the corners on the paper.
Next, add everything that will not move. That includes fences, trees, sheds, the house wall and any buried pipes or cables. In addition, draw a north arrow, because the direction of the sun will shape almost every later decision.
Mark Sun, Water and Slope
NC State advises at least 6 hours of direct sunlight a day, with 8 to 10 hours being ideal. So note which parts of the plot fall into shade, and when. Our guide to making a garden sun map shows how to count the hours rather than guess from the shadows.
Also mark the nearest spigot and any low spots where water collects after rain. Similarly, note any slope, since beds on a slope should run across it to slow runoff. These details take only a few minutes to record, yet they prevent many problems later.
Step 2: Decide How Much to Grow
A plan that is too big becomes a weed patch by August. On the other hand, a plan that is too small leaves you buying tomatoes at the store. The right size depends on your household, your time and what you actually like to eat.
Match the Size to Your Household
Iowa State University Extension suggests starting with about 100 square feet, such as a 10 by 10 foot plot, or even a single 4 by 8 foot bed. At the other end of the scale, NC State estimates that about 1,050 square feet can supply most of the fresh produce a family of four needs during the growing season.
Most beginners should stay close to the smaller figure. NC State itself advises starting small and expanding as your time and interest grow. You can always add a bed next year, but it is much harder to maintain one you cannot keep up with. Our checklist for starting a vegetable garden covers the other questions to ask before you dig.
Count Plants With a Simple Formula
Next, work out how many plants each bed can hold. Iowa State gives a simple method to determine plant quantity: multiply the area of the bed in square feet by the number of plants per square foot. The spacing on the seed packet tells you that number.
For example, plants spaced 12 inches apart fit one per square foot, while a 6-inch spacing fits four. According to the Iowa State chart, a 4-inch spacing fits 9 plants per square foot, and a 48-inch spacing needs about 16 square feet per plant. As a result, a 4 by 8 foot bed of lettuce at 6 inches holds about 128 heads, which is far more than most families can eat at once. This quick sum often shows that you need fewer seeds and more sowing dates. Our guide to intensive gardening explains how to use tight spacing without crowding.
Step 3: Draw Beds and Paths Into Your Vegetable Garden Plan
Once you know the size of the plot and the number of plants, you can draw the beds themselves. At this stage, work in pencil, because the first version is rarely the final one.
Bed Width and Path Width
Iowa State recommends beds 3 to 4 feet wide, so that you can reach the middle from either side. Keep each bed no wider than 4 feet, and make it as long as the plot allows. Between the beds, leave paths wide enough for your feet, a kneeling pad and a cart or wheelbarrow.
In practice, a main path of about 2 feet works for most carts. Side paths can be a little narrower, but they should still let you kneel comfortably. Draw the paths first and fill the remaining space with beds, rather than squeezing the paths in at the end.
Tall Crops on the North Side
In the Northern Hemisphere, tall plants cast their shadows toward the north. Therefore, NC State advises grouping tall crops such as corn, okra and sunflowers, along with trellised peas, beans and squash, on the north side of the garden. That way, they do not shade the shorter plants. NC State also recommends running rows from north to south to make the best use of sunlight.
Mark each trellis as a thick line on your map. It is a permanent feature, so it helps to decide its place before you plant anything around it.
Perennials on the Edge
A few vegetables stay in the ground for years. The University of Maryland Extension lists asparagus and horseradish as perennial crops, and both are easy to disturb by accident. For that reason, give them their own bed at the edge of the plan, where yearly digging will not reach them. Our perennial vegetables list suggests other crops for that permanent corner.
Step 4: Add Time to the Vegetable Garden Plan
A map shows where things grow, but a good vegetable garden plan also shows when. NC State suggests noting the approximate planting date for each crop on the map itself. That turns a drawing into a working calendar for the whole season.
Planting Dates on the Map
Write the sowing or transplanting date next to each block on the plan. Then add the expected harvest date, using the days to maturity on the seed packet. Once both dates are there, you can see when each space becomes free. Our seed starting calendar and our zone planting schedule help you fill in those dates for your region.
Succession Sowings
Those empty spaces are an opportunity. Iowa State suggests succession sowings every 7 to 10 days for quick crops, so the harvest keeps coming rather than arriving all at once. On the plan, split a bed into short sections and give each section its own date. When the spring peas finish, for example, the same space can hold bush beans or fall carrots. Our guide to succession planting lists good pairs of early and late crops.
Step 5: Plan Next Year Too
The most useful vegetable garden plan is one you keep. At the end of the season, it becomes a record of what grew where, and that record makes next year’s plan much easier.
Build Rotation Into the Map
Iowa State advises against planting the same botanical family in the same spot for 3 to 4 years. So give each bed a number on your plan, and then note which family it held this year. Next year, simply shift each family one bed along. Our guide to vegetable crop rotation groups the main families and shows a four-bed cycle.
Keep Notes on the Plan
UMD encourages beginners to take notes during the season on how each crop performed, which pests appeared and how the weather and watering affected the garden. NC State likewise recommends keeping the diagram together with the varieties and planting dates. Staple the plan into a notebook, or photograph it and keep the notes on your phone. Our garden journal template gives you a simple page for this.
A Sample Vegetable Garden Plan for a 10 by 10 Plot
Here is how the steps come together on a small plot of 100 square feet, the starting size Iowa State suggests. Draw two beds, each 4 feet wide and 8 feet long, running north to south. Between them, leave a 2-foot path, and across the south end, leave another 2-foot path for the cart. That fills the plot exactly: 4 plus 2 plus 4 feet across, and 8 plus 2 feet down.
In the first bed, put a trellis along the north end for pole beans or cucumbers. Below it, add two staked tomatoes, and then peppers and basil toward the south. In the second bed, sow peas at the north end in early spring, with lettuce, spinach and radishes in short sections below them. When the peas finish in early summer, replace them with bush beans. Later, as the lettuce bolts, follow it with carrots and fall greens. Next year, the two beds simply swap. Our vegetable companion planting chart helps you choose neighbors within each bed.
Common Vegetable Garden Plan Mistakes
Even a careful plan can go wrong in a few familiar ways. Most of them come from optimism rather than a lack of effort.
- Planning too much space. A bed you cannot weed each week is not an asset. Start small, as both Iowa State and NC State advise.
- Forgetting the paths. Beds without room to kneel get trampled, and the soil suffers.
- Ignoring shade. A plan drawn without a sun map often puts tomatoes where the house shades them all afternoon.
- Planting everything at once. Without dates on the plan, every crop ripens in the same fortnight.
- Throwing the plan away. Without last year’s map, rotation becomes guesswork.
Frequently Asked Questions
When should I start my vegetable garden plan?
Late winter is ideal, a month or two before your first sowing date. That leaves time to test the soil, order seeds and build any new beds before spring.
What is the easiest way to draw a vegetable garden plan?
Graph paper and a pencil work best for most gardeners. Let one square equal one foot, draw the fixed features first, and then add beds, paths and crops.
How big should a first garden be?
Iowa State suggests about 100 square feet, while UMD suggests 25 to 50 square feet for a true beginner. Either way, a small, well-kept garden produces more than a large, neglected one.
Putting Your Vegetable Garden Plan to Work
A vegetable garden plan does not need to be beautiful. It needs accurate measurements, a north arrow, beds you can reach, paths you can walk, and dates next to every crop. Draw it in winter, change it as often as you like, and then follow it through the season. At the end of the year, add your notes and keep it safe, because next year’s plan starts from this one. With each season, the map becomes more accurate, and the garden becomes easier to manage.
Check out the author’s book here: The Year-Round Vegetable Garden for Beginners.
Leave a Reply